Proper headlight functionality is crucial for vehicle safety, ensuring your customers have a clear and unobstructed view of the road. Oxidized or cloudy headlights not only reduce visibility but also pose a significant safety risk. Using the EZ-1 headlight kit for headlight restoration is an effective way to bring headlights back to life and enhance safety. This guide walks you through the entire process, from preparation to the final protective lens coating, ensuring outstanding results every time.
Table of Contents
- Why Headlight Restoration Matters
- Choosing the Right EZ-1 Headlight Kit
- 1: Preparing the Headlights with Diamond Dust Deoxidizing Cream
- 2: Using the EZONE Tool with a Cordless Drill
- 3: Hand Rubbing and Smoothing the Surface
- 4: Final Cleaning with Pre-Moistened Wipes
- 5: Applying the EZ1 Lens Guard
- Important Aftercare Tips
- Conclusion
- Frequently Asked Questions
Why Headlight Restoration Matters
Headlights, like everything else, ages over time. They can become oxidized, hazy, yellowed, and faded enough to block light and diminish driving visibility. Faded or dull headlights scatter light, making it difficult for drivers to see while driving at night. If night vision is already compromised, driving with dull headlights can be deadly.
Repair Shops and Service Departments: Identifying headlights in poor condition and recommending restoration is a safety concern and an essential service to include in your vehicle maintenance estimates. Restoring headlights not only improves the driver’s vision and safety driving at night but also enhances the vehicle’s appearance.
Choosing the Right EZ-1 Headlight Kit
Before starting the restoration process, it’s important to determine whether to use the standard or commercial size EZ-1 headlight kit. This decision depends on the total surface area of the headlights to be restored:
- If the total surface area is under 180 square inches, the standard kit is sufficient.
- If the surface area exceeds 180 square inches, opt for the commercial kit.
Measuring the headlight surfaces accurately helps ensure you have the right supplies for a thorough restoration.
Step 1: Preparing the Headlights with Diamond Dust Deoxidizing Cream
Begin by shaking the bottle of Diamond Dust Deoxidizing Cream 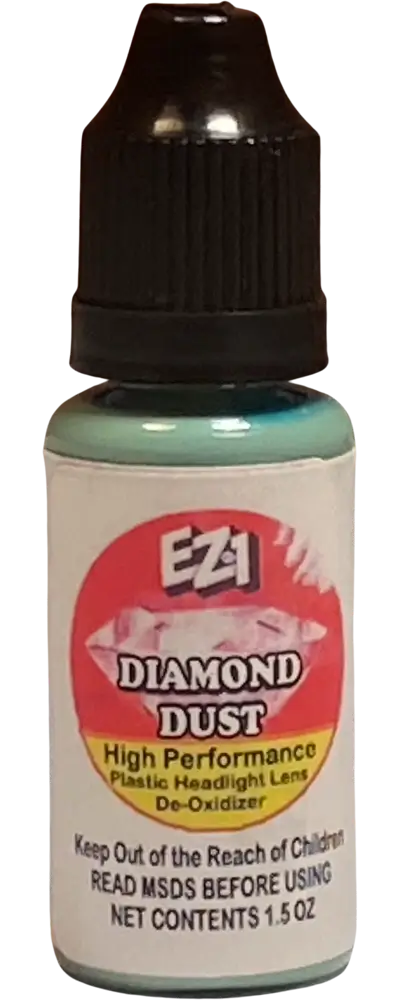 thoroughly, as the contents may separate during storage. When you open the bottle, lightly tap it so that dots of diamond dust spread evenly over the headlight surface. This diamond dust is safe for vehicle paint and other surfaces, so don’t worry if some gets on the surrounding areas—it will be cleaned later.
Using the handheld scrubbing pad wrapped with a blue glove, spread the diamond dust evenly over the entire headlight surface until it appears green with no bare spots. Alternate between headlights during application to allow the deoxidizing cream to work effectively. Keep the diamond dust moist throughout this step by applying more if needed.
Step 2: Using the EZ1 Scrubber Tool with a Cordless Drill
Attach the specially designed 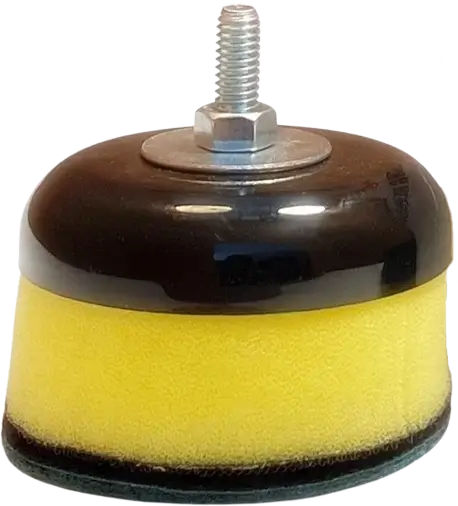 EZ1 Scrubber Tool to a cordless drill. Begin at a slow speed to prevent splattering the diamond dust, then gradually increase to the fastest speed as the dust works into the headlight lens. Some headlights with heavier oxidation or residue may require longer treatment or gentle pressure applied while holding the pad in one area.
The EZ1 scrubber tool features a 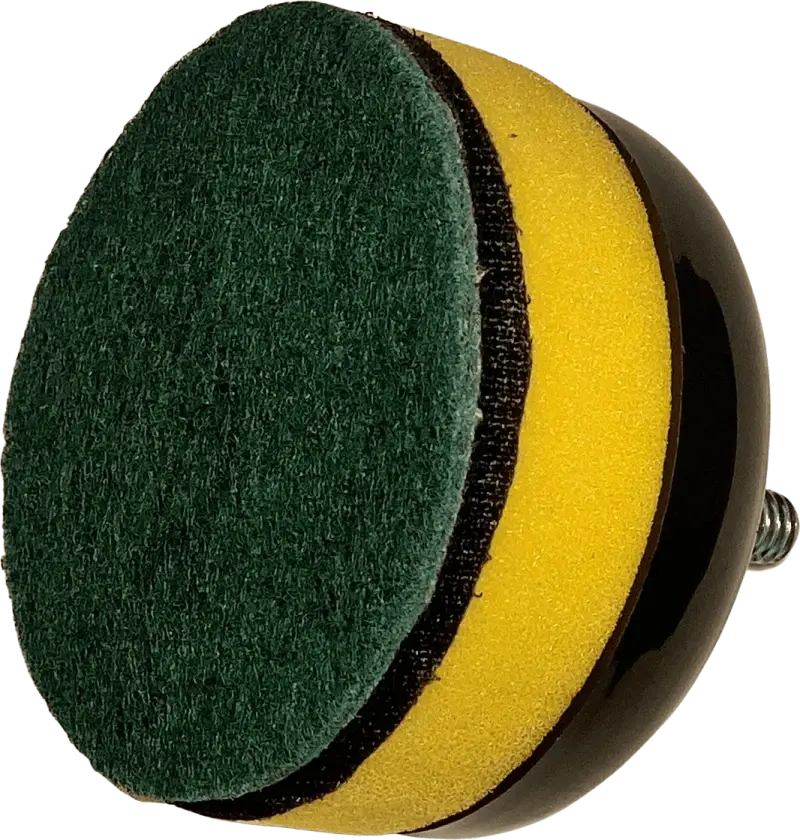 foam scrubber pad specially designed to protect the headlight from excessive pressure. The scrubber pad attached to the tool usually lasts for about 8 to 10 vehicles, depending on headlight condition. For heavily oxidized headlights, a new pad will yield better results.
Step 3: Hand Rubbing and Smoothing the Surface
After machine treatment, use the handheld pad (previously used for applying diamond dust) to rub the headlight surface thoroughly. You will notice a rough texture that will gradually smooth out as you continue rubbing. This smoothness signals the surface is ready for the next step. Apply firm pressure without fear of scratching—the pad is gentle enough to avoid damage.
Make sure to cover every inch of the headlight lens. Flip the pad over to use the clean side for the second headlight. Once both headlights are evenly rubbed, wipe away all diamond dust residue using a clean, lint-free cloth, paying special attention to cracks and crevices.
Step 4: Final Cleaning with Pre-Moistened Wipes
Use the two pre-moistened wipes included in the kit to give the headlights a final clean. These wipes contain alcohol, which ensures that no diamond dust remains on the surface before applying the protective lens coating. By the time you finish cleaning both headlights, the first one will be completely dry.
Step 5: Applying the EZ1 Lens Guard
Pour the entire contents of the small vial of EZ1 Lens Guard into the provided cup. Do not save any for future use, as applying the full amount ensures maximum protection and longevity. Dip the cotton applicator pad into the lens guard until it absorbs the liquid.
Apply the lens guard slowly across the headlight surface, moving in one consistent direction. Overlap each pass by 50 to 70 percent to guarantee even coverage and minimize missed spots. Inspect for missed areas immediately and correct them while the product is still wet, as it becomes harder to fix once dried.
Repeat this process on the second headlight. After application, clean any lens guard residue from surrounding surfaces with the pre-moistened wipes. Avoid touching the headlights for 20 to 30 minutes until the coating is dry to the touch.
Important Aftercare Tips
Conclusion
Using the EZ-1 headlight kit for headlight restoration is a reliable and effective way to restore clarity, improve safety, and extend the lifespan of vehicle headlights. By following these detailed steps—from selecting the right kit to applying the final lens guard, you can ensure a professional-quality finish that benefits both you and your customers.
Frequently Asked Questions
How do I know which EZ1 headlight kit to use?
Measure the total headlight surface area. If it’s under 180 square inches, use the standard kit; if more, choose the commercial kit.
Is the diamond dust safe for my vehicle’s paint?
Yes, the diamond dust won’t harm paint or other surfaces and will be cleaned off during the preparation phase.
How long does the EZ1 Lens Guard last?
The lens guard provides long-lasting protection when applied fully and properly, but exact duration depends on environmental conditions and care.
Can I use the same scrubber pad for multiple vehicles?
The scrubber pad on the EZ1 tool usually lasts for 8 to 10 vehicles, but heavily oxidized headlights may require a new pad for optimal results.
When can the customer drive the vehicle after restoration?
Once the lens guard is dry to the touch (20-30 minutes), the vehicle can be driven, but washing should be avoided for 72 hours to ensure the coating cures properly.
#HeadlightRestorationKitBest #EZ1HeadlightKit #CarSafety #VehicleMaintenance #HeadlightCare