Surface Preparation and Proper Application is Crucial for Safely Restoring Headlights.
PREP IT RIGHT, LIGHTS STAY BRIGHT
PREP IT WRONG, IT WON'T LAST LONG
NEVER USE SANDPAPER ON PLASTIC HEADLIGHTS
These are the preparation and application instructions, including what NOT to do, which is what every headlight kit should disclose.
Not all plastic headlights can be restored. If either headlight suffers from interior water damage, surface cracks, extreme surface checks or crazing, extreme surface yellowing or extreme UV sun ray burns, they cannot be restored. They MUST be replaced.
ADHESION: PROTECTIVE COATING WILL NOT ADHERE TO A "SLICK" SURFACE
Lens Guard or other protective coatings will not adhere to any headlight unless the headlight surface has first been properly prepped with Diamond Dust Deoxidizing Cream.
Think of the headlight surface as the metal surface of an automobile, the Diamond Dust as the primer, and the Len Guard protective coating as the paint.
If the metal surface of an automobile is not properly primed, the paint will not adhere to the metal because the surface is too slick.
The Diamond Dust Deoxidizer acts as the primer for the headlight lenses, getting rid of the slick or old coating.
The Lens Guard protective coating "paints" a new and clear coat, allowing the bright lights shine through the restored headlight surface.
PREPARING THE SURFACE: NEVER USE SANDPAPER ON HEADLIGHTS!
Begin by thoroughly shaking the bottle of Diamond Dust Deoxidizing Cream, 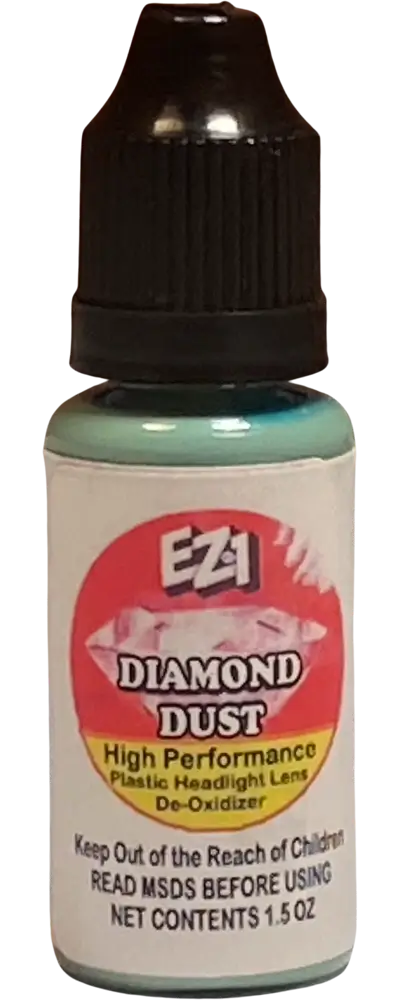 as the contents may separate during storage.
When you open the bottle, lightly tap it so that dots of Diamond Dust spread evenly over the headlight surface. The Diamond Dust is safe for vehicle paint and other surfaces,
so don’t worry if some gets on the surrounding areas, it will easily wipe off later.
as the contents may separate during storage.
When you open the bottle, lightly tap it so that dots of Diamond Dust spread evenly over the headlight surface. The Diamond Dust is safe for vehicle paint and other surfaces,
so don’t worry if some gets on the surrounding areas, it will easily wipe off later.
Using the handheld scrubbing pad inside the kit, spread the Diamond Dust over the entire headlight until the green chemical compound shows no bare spots. Alternate between headlights during application to allow the chemicals in the deoxidizing cream to work. Keep the Diamond Dust moist throughout this step by applying more if needed.
SEVERLY DULL HEADLIGHTS: NEVER USE TOOTHPASTE OR DISH SOAP!
Use the EZ1 Scrubber Tool with a Cordless Drill on headlight surfaces with heavy oxidation or extremely dull, yellowed surfaces.
Attach the 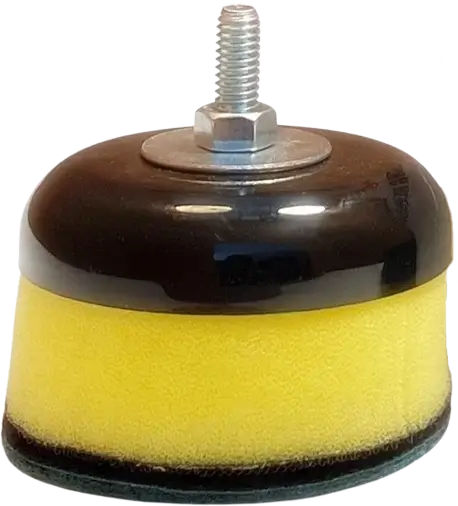 EZ1 Scrubber Tool to any cordless drill. Begin slowly to avoid diamond dust splatter, then slowly increase the speed
as the Diamond Dust works into the headlight lens. Some headlights with heavier oxidation or residue may require longer treatment or gentle pressure applied while holding the
pad in one area.
EZ1 Scrubber Tool to any cordless drill. Begin slowly to avoid diamond dust splatter, then slowly increase the speed
as the Diamond Dust works into the headlight lens. Some headlights with heavier oxidation or residue may require longer treatment or gentle pressure applied while holding the
pad in one area.
The EZ1 Scrubber Tool features 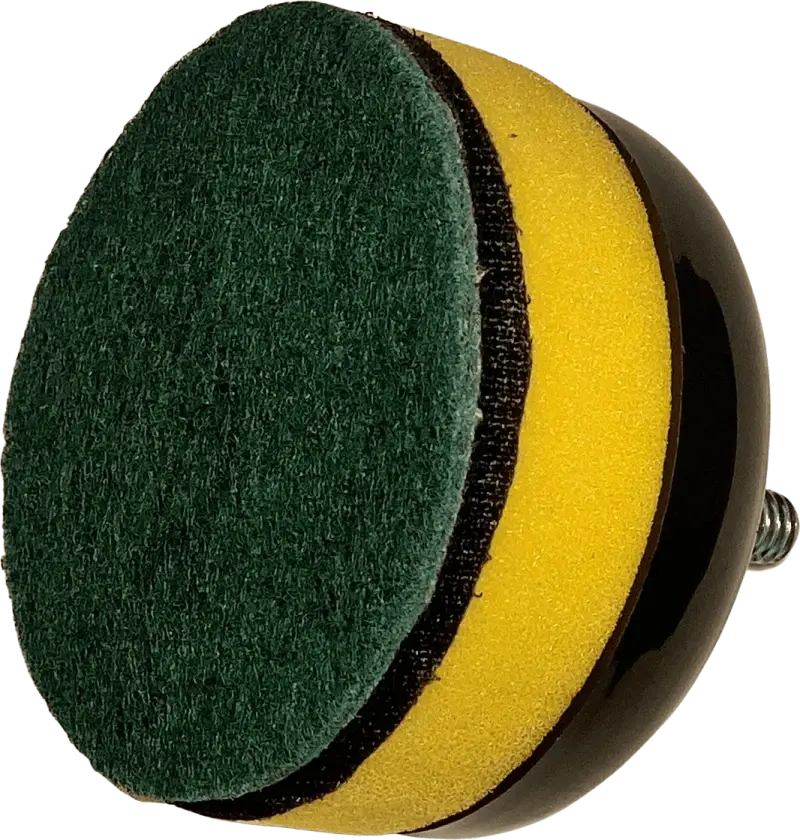 thick foam under the scrubber pad designed to protect the headlight from excessive pressure.
Hand Rubbing and Smoothing the Surface
Use the handheld scrubber pad (used for applying diamond dust) to firmly rub the headlight surface. If you notice any rough textures, continue rubbing the surface until they slowly start to smooth out. Using the handheld scrubber pad with gentle but firm pressure will not scratch the surface.
Flip the pad over and use the other side for rubbing the second headlight until the surface is smooth. Once both headlights are evenly rubbed and smooth, wipe away all diamond dust residue using the clean, yellow cloth included in the kit, paying special attention to cracks and crevices.
Cleaning with Pre-Moistened Wipes
Use the two pre-moistened wipes included in the kit to wipe down the headlights. These wipes contain alcohol which will remove all traces of diamond dust before the Lens Guard Protective Coating is applied. By the time you finish wiping both headlights, the first one will be completely dry.
Applying the EZ1 Lens Guard
Pour the entire contents of the small vial of EZ1 Lens Guard into the cup found in the kit. Apply the full amount for maximum protection as this product cannot be saved for future use. Dip the cotton applicator pad into the Lens Guard, allowing it time to absorb the liquid.
Apply the Lens Guard slowly across the surface, moving in one direction only, overlapping each stroke by 50 to 60 percent. Immediately look for missed spots and correct them before the product is dry and becomes difficult to fix.
Repeat for the second headlight. After application, use the pre-moistened wipes to clean off any Lens Guard left on surrounding surfaces. Do not touch the headlights for 20 to 30 minutes or until the coating is dry. Wait at least 72 hours before washing the vehicle.
Conclusion
Preparing the headlight surface before restoration is just as critical as preparing the vehicle before a new paint job. This is true for all headlight restoration kits on the market today.
All EZ1 Headlight Restoration Kits include everything you need to properly prepare and restore 1 set of headlights.
The Severe Duty EZ1 Headlight Restoration Kit includes a yellow towel and has the foam scrubber drill attachment for severely oxidized headlights that are extremely dull and yellowed. The drill attachment also makes it easier and faster for restoring multiple sets of headlights.
#HeadlightRestorationKitBest #EZ1HeadlightKit #CarSafety #VehicleMaintenance #HeadlightCare